5 min to read
How to Install rtorrent with rutorrent GUI on Ubuntu The Easy Way!
This guide is helpful for every type of experienced people
Before Moving Forward I want to thank one of my friend GM for checking the Wordings and Authenticity of the Post!
Getting Started
The Script which is used here for installation of rtorrent+rutorrent is rtinst and its repo can be found on github here: rtinst
Requirements
1) Ubuntu Server (16, 17, 18, 19) [20 Not Tested!]
2) Any SSH client (Putty recommended!) [If you are a Mac or Linux user then no need as you can then login through your terminal]
3) If we need any other requirements then it will be mentioned in the procedure steps :)
Note: Wherever you see a code to type then type the command which is after “~APS_MAC->$” or “~root@IPaddress:-$”
Let’s Start!
Step-1: Login To your Server
▐ Log in on a Mac or Linux
~APS_MAC->$ ssh root@IPaddress
Replace root with your server username and Ipaddress with your server IP (ipv4)
▐ Log In through Putty on Windows (Download latest release from Putty )
Enter your IP Address in the required field and your Username and then fire it up!
It will ask for your User Password of the server.
Type it and Press Enter!
Voila! You Just logged into your Server!
Step-2: Switch to Sudo
This is required as the script we are going to install requires sudo access.
~root@IPaddress:-$ sudo -i
Step-3: Update your server packages
Before installing te script we need to update and upgrade our server system so that the installation goes smooth! Type:
~root@IPaddress:-$ sudo apt update
Then Install the update packages by Typing:
~root@IPaddress:-$ sudo apt upgrade
Now let’s move forward to step-4 from which the main installation will get started!
Step-4: Installing the script
Before moving forward let’s get ourselves clear with the script. It’s a pure Shell Script bundled to install many seedbox scripts like rtorrent, deluge, couchpotato, etc!
The rtinst script installs and configures (which we are going to install here):
vsftpd (ftp server)
libTorrent/rTorrent/xmlrpc-c
ruTorrent
NGINX (web server)
autodl-irssi (It’s a plugin for irssi that monitors IRC announce channels and downloads torrent files based on user-defined filters
Webmin (Optional but recommended!)
Okay So Now as we are cleared with the script, so, we can move forward to installation!
First, Start with fetching the latest build of rtinst by typing the following command:
~root@IPaddress:-$ sudo bash -c "$(wget --no-check-certificate -qO - https://raw.githubusercontent.com/arakasi72/rtinst/master/rtsetup)"
Now before installing rtinst we should get clear that this script channges the ssh port by default when its started as to avoid any security problems!
So, to avoid the port change we are going to install rtinst with a -t or --ssh-default at the end and then proceed!
It will look like:
~root@IPaddress:-$ sudo rtinst --log --webpass RUTORRENT_WEB_PASSWORD --dload -t
You Maybe thinking what these –log, –webpass, etc means…
-d, –dload : Enable http download of content
-l, –log : Enables logging to ~/rtinst.log
-t, –ssh-default : As explained above it will tell rtinst to keep the ssh port to default port 22
-r, –rutorrent-stable : Installs ‘stable’ rutorrent as opposed to the latest master build, this is default setting, from rtinst v1.4
-m, –rutorrent-master : Installs the latest master build of rutorrent as opposed to latest ‘stable’ release, this is the default setting prior to rtinst v1.4, and this option is only available from v1.4
-y, –force-yes : Will automatically accept the IP address as detected, will automatically skip rtorrent/libtorrent install if an existing installation is detected, and will generate a random password for rutorrent, unless -w, –webpass is also used to specify a web password.
-u, –user : names the user to be primary rtorrent user, can be an existing user or script will create a new user, for example if the user name is sally then the option would be ‘-u sally’
-p, –password : Sets the unix password, this only applies if a new user is created. It will not change the password of an existing user.
-w, –webpass : Sets the web password for the user. This is the password used by rutorrent, and is not the same as the unix account password
Further installation techniques can be found here: rtinst
As soon as you start running the script by above command it will ask you several things which you should answer according to your server and your own needs!
At the End rtinst will give you the information of the installation like ftp port (Due to security reasons it assigns a random port), the address of rutorrent WebGUI, the HTTPS download location, etc!
Don’t Forget to note all these things at a safe and secure place!
Step-5 Installing WebMin (Optional)
Why I recommend it is due to the fact that it allows you to access your server files with a file manager where you can upload, rename, download and do anything with the server files….. This enables you to see the server files without accessing it through FTP or SFTP!
~root@IPaddress:-$ sudo rtwebmin
Step- 6 Rebooting the system
Now If everything went good then we can reboot our server by the following command:
~root@IPaddress:-$ sudo reboot
That’s All!
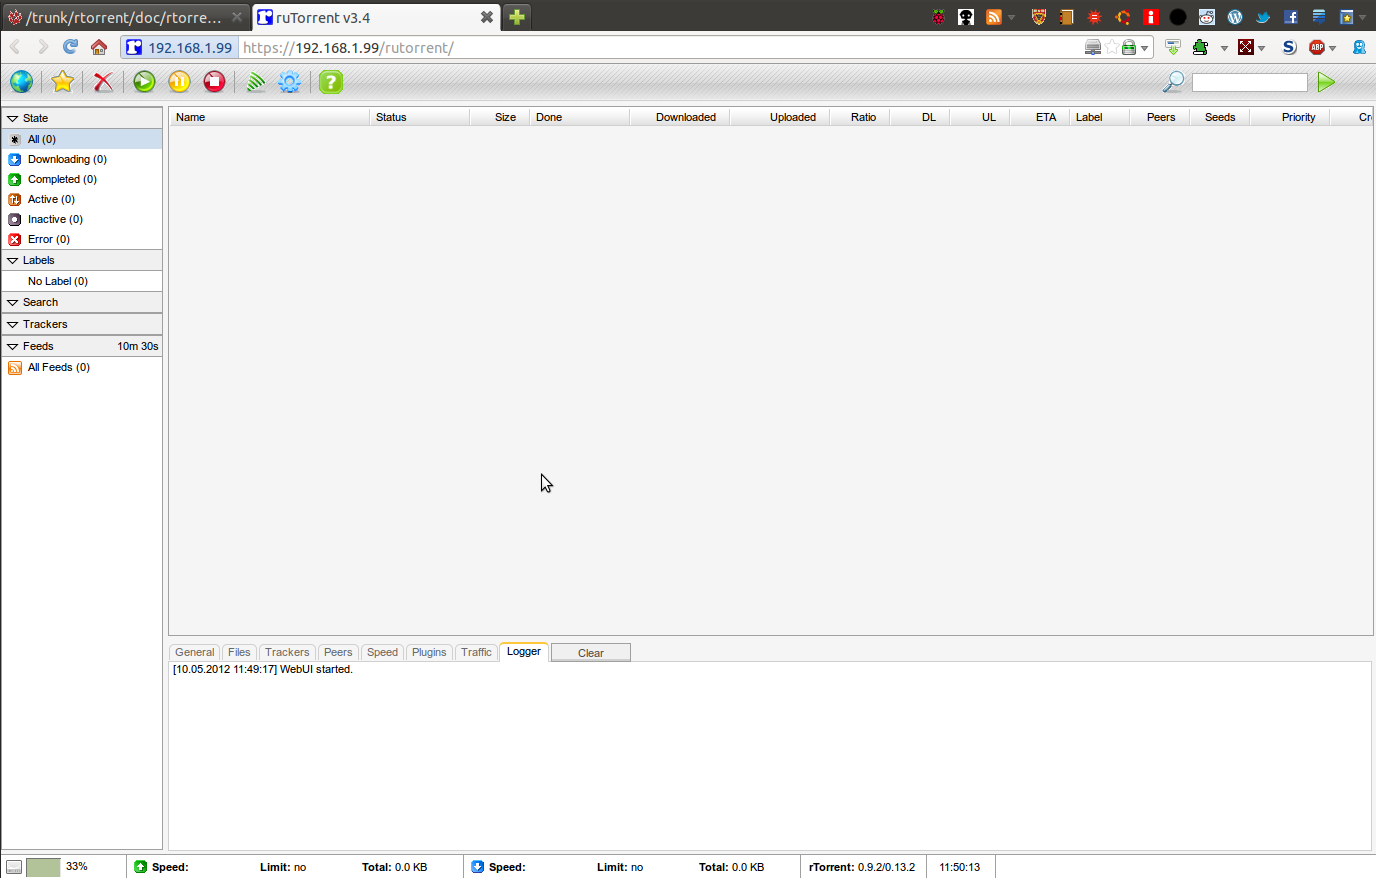
We Just Installed a seedbox! Now we can access it after the reboot by the address we just got in the above command result of rtinst installation in STEP 4!
Ohh Wait! Did you heard of any new update of rtorrent!? Yes?
Then Install it with this command:
~root@IPaddress:-$ sudo rtupdate
Ohh Rutorrent too !?
Then Install it with this command:
~root@IPaddress:-$ sudo rutupgrade

Comments